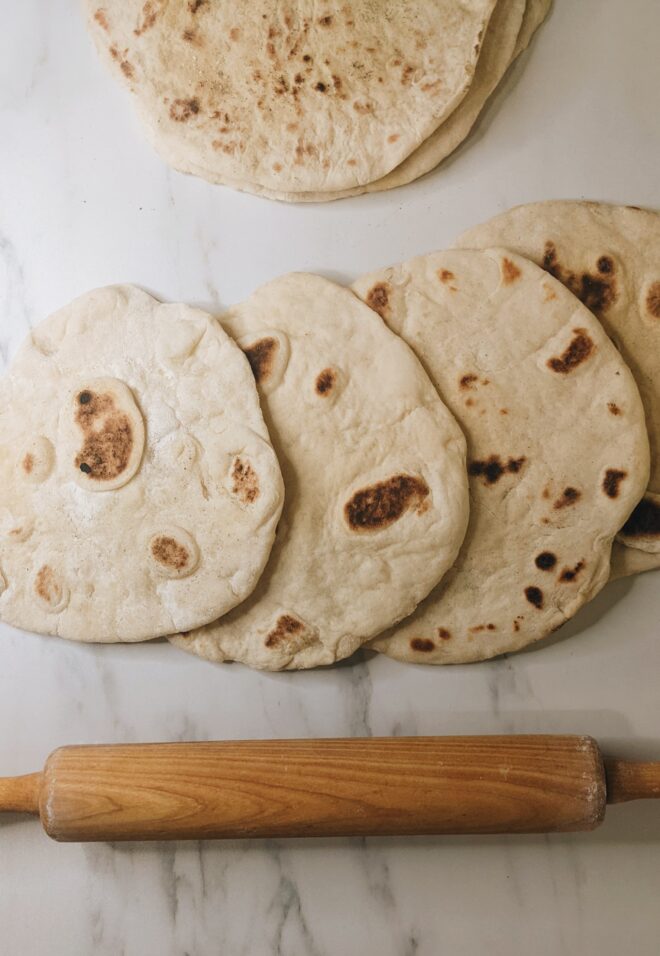
This recipe is super easy and requires only five common ingredients! This fluffy homemade pita bread does take a bit of time, but the majority of it is spent waiting for the dough to rise, and rest. I like to use this resting time to prepare dips like tzatziki, or gyros style fillings for the pita!
The Origins of Pita Bread
Archeological historians have discovered that pita bread has origins within the Fertile Crescent, and has been a staple in Middle Eastern and Mediterranean cuisines for approximately four thousand years. The Fertile Crescent has a rich history of crop domestication, irrigation systems, writing, libraries, and so much more.
The origins are known due to the forms of crops grown by Neolithic farming communities in the region. Crops like emmer wheat, einkorn wheat, and barley, were all used in the production of many ancient breads.
As for ancient fermentation/rising processes of the bread: pita bread was likely left out to absorb natural yeast strains present in the surrounding environment. The natural yeast would cause the breads to ferment and rise. The process of isolating, selecting and breeding yeast is a modern day invention that we use for beer, wine, and baker’s yeast strains.
Making a “Modern” Fluffy Homemade Pita BRead
Contemporary pita bread recipes include active selective baker’s yeast, sugar to feed that yeast, salt, flour, and olive oil. The yeast blooms, the ingredients are combined, set to rise, shaped, and finished in a high temperature oven or a cast iron pan.
Dough Handling Techniques
Allowing the dough to rest and rise at all stages without rushing the process is very important for the gluten development and the metabolism of the yeast. If you’re familiar with bread making, you likely know that patience always rewards fluffier, and more flavorful bread.
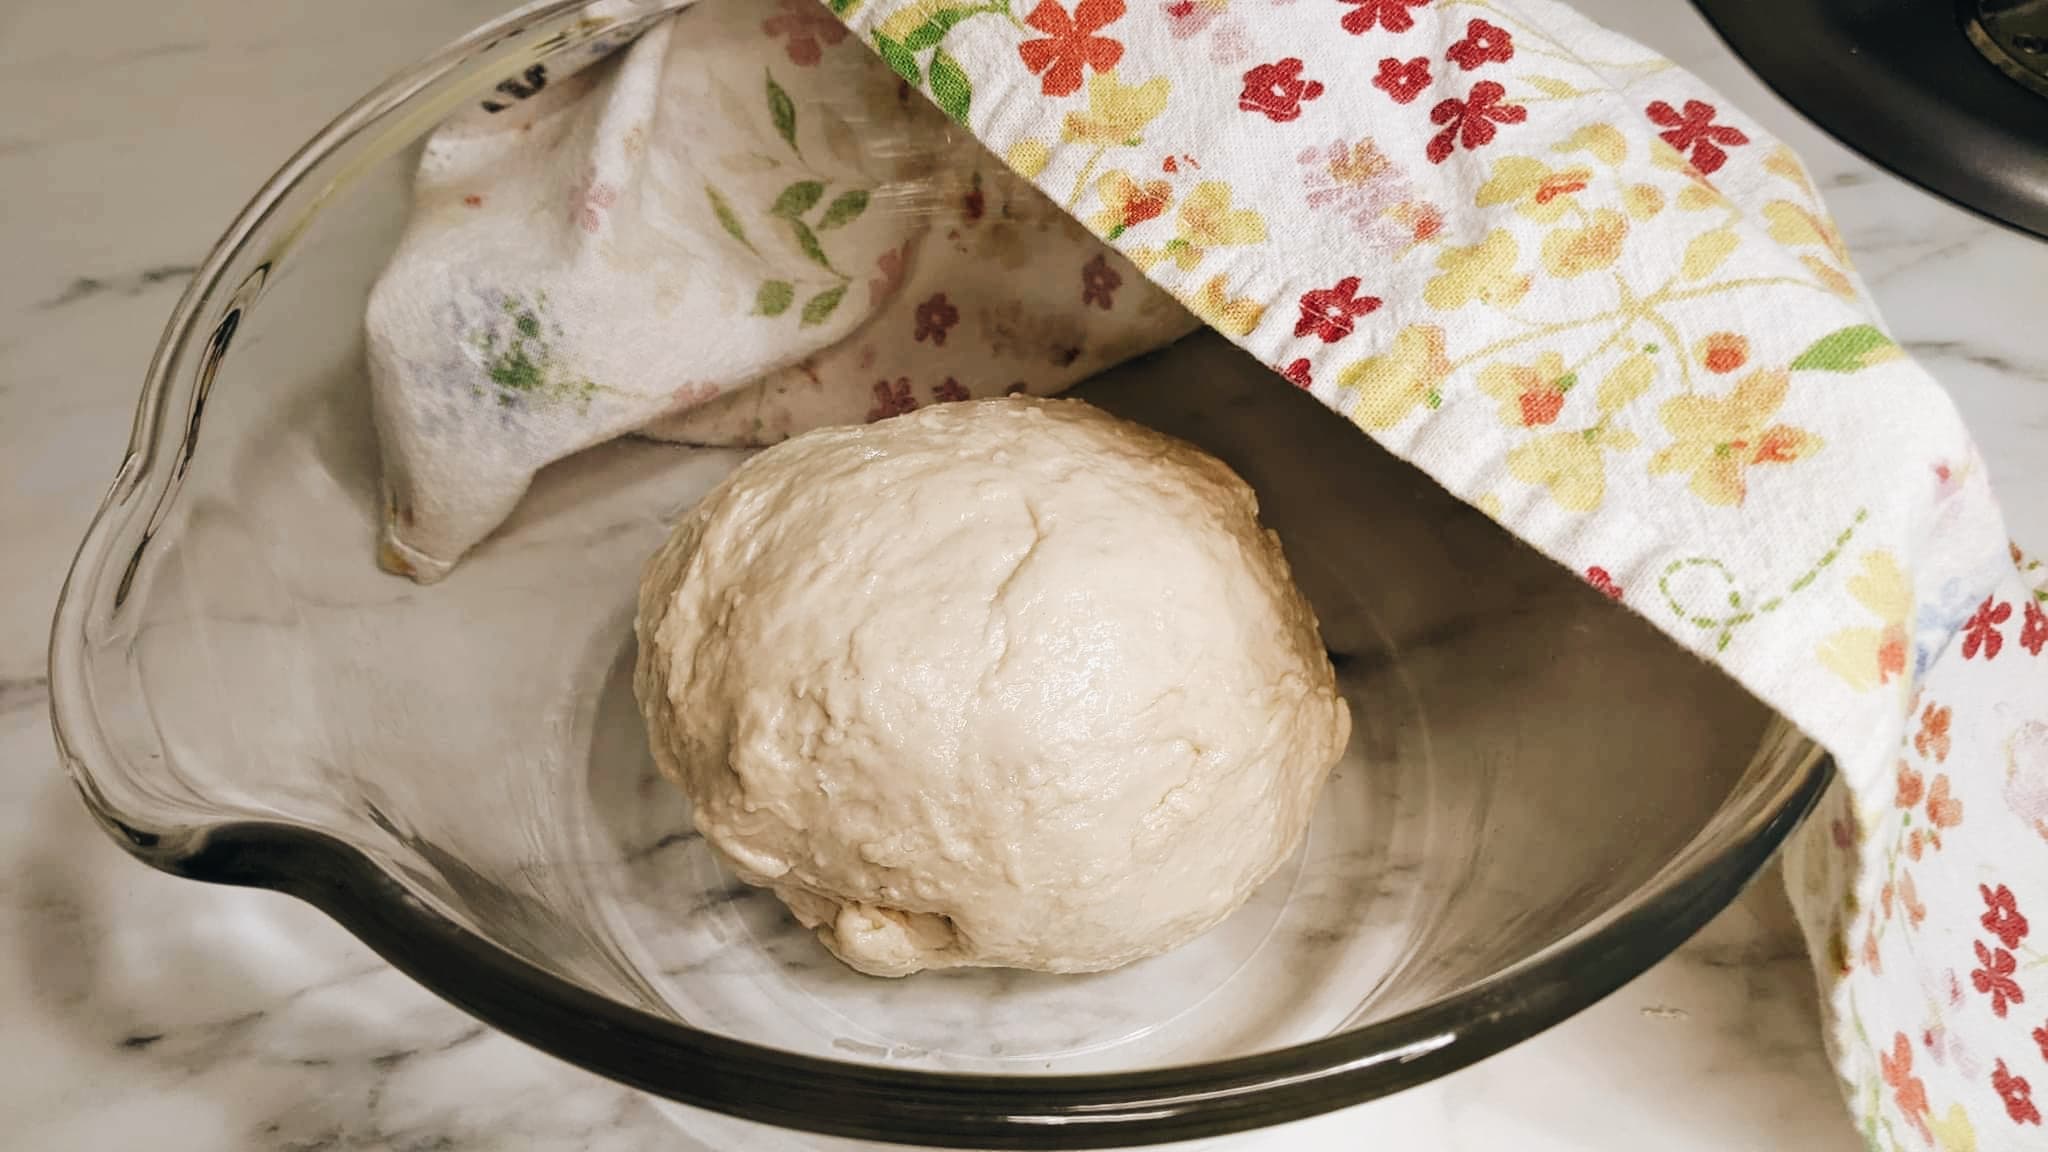
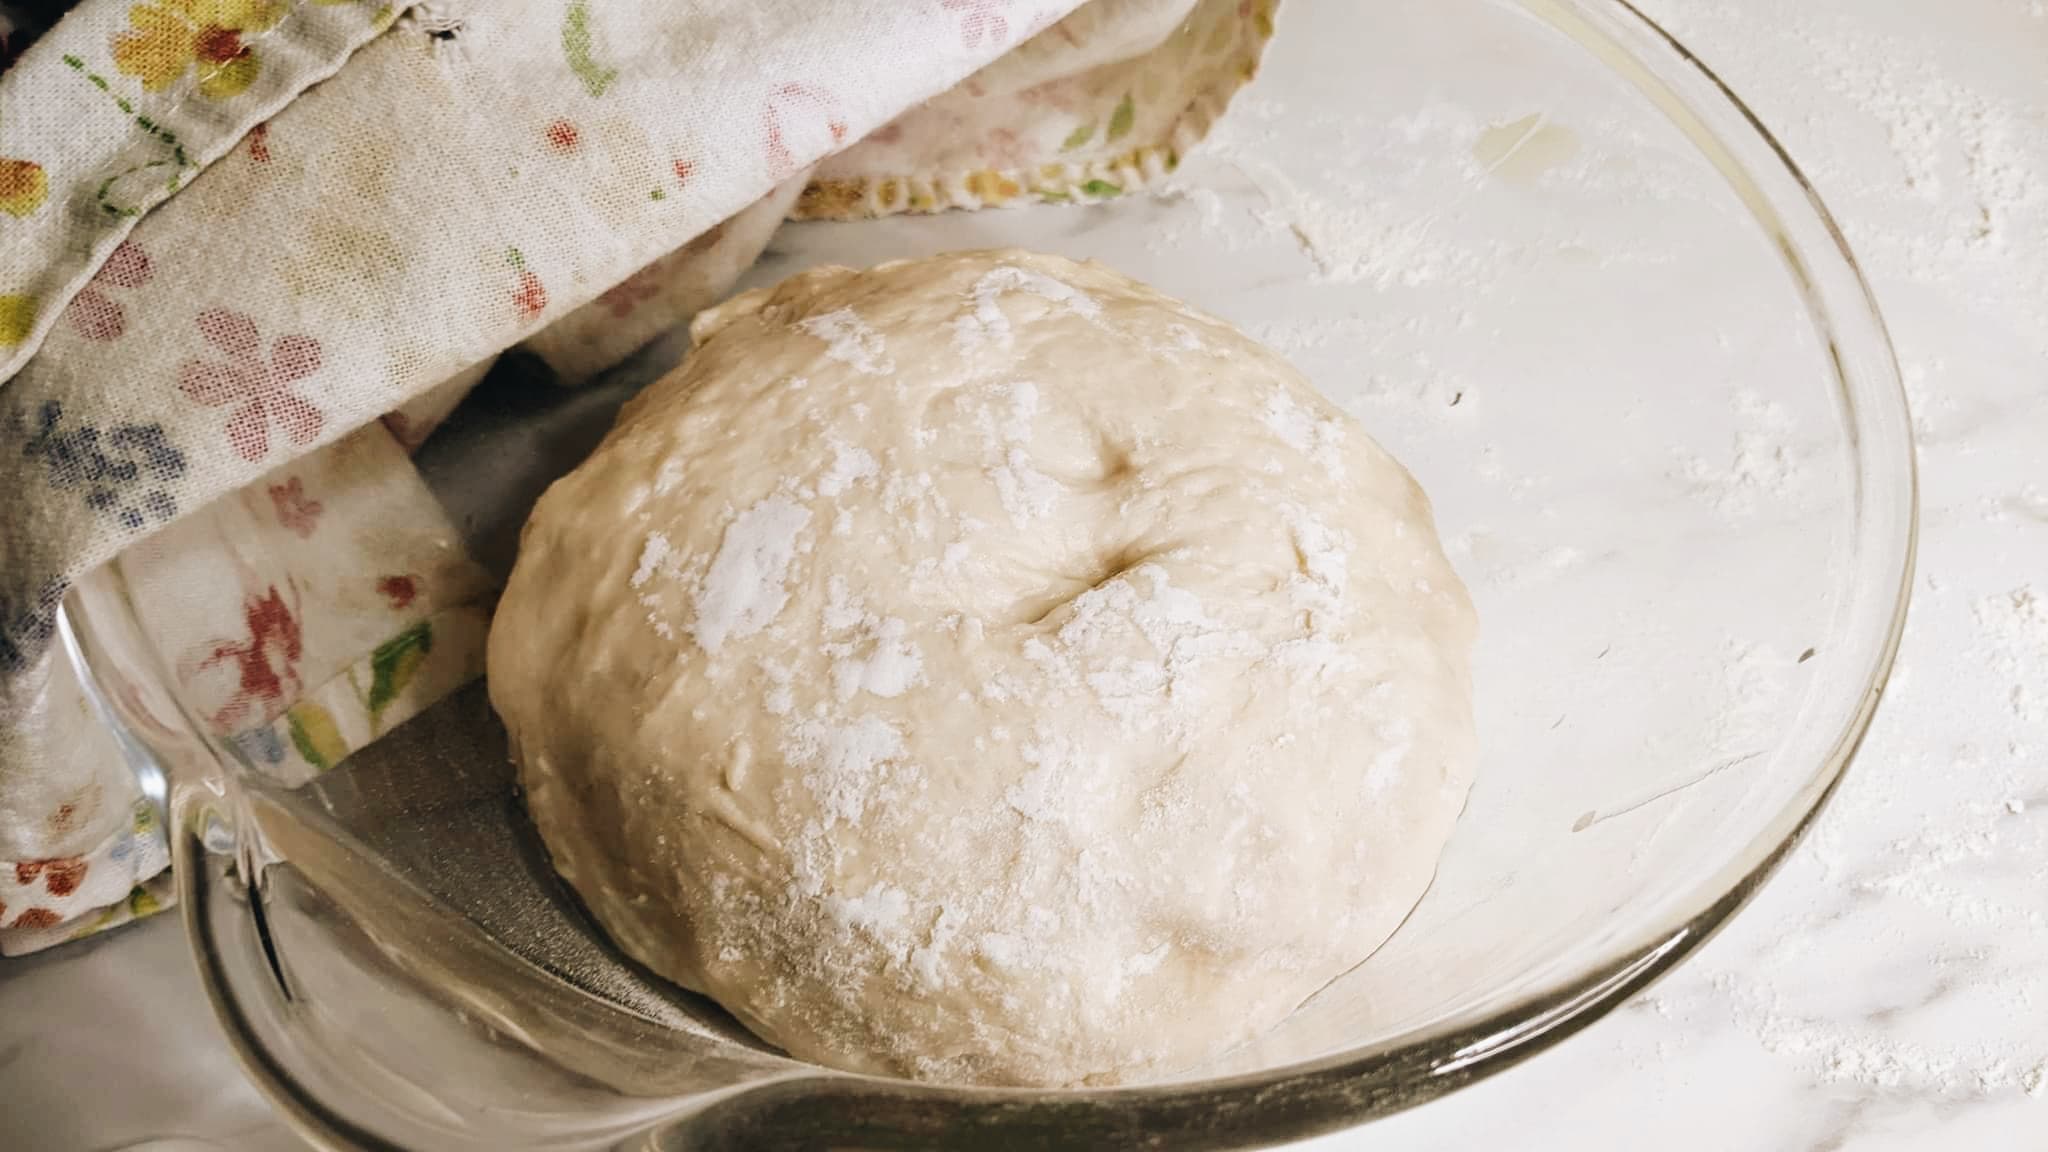
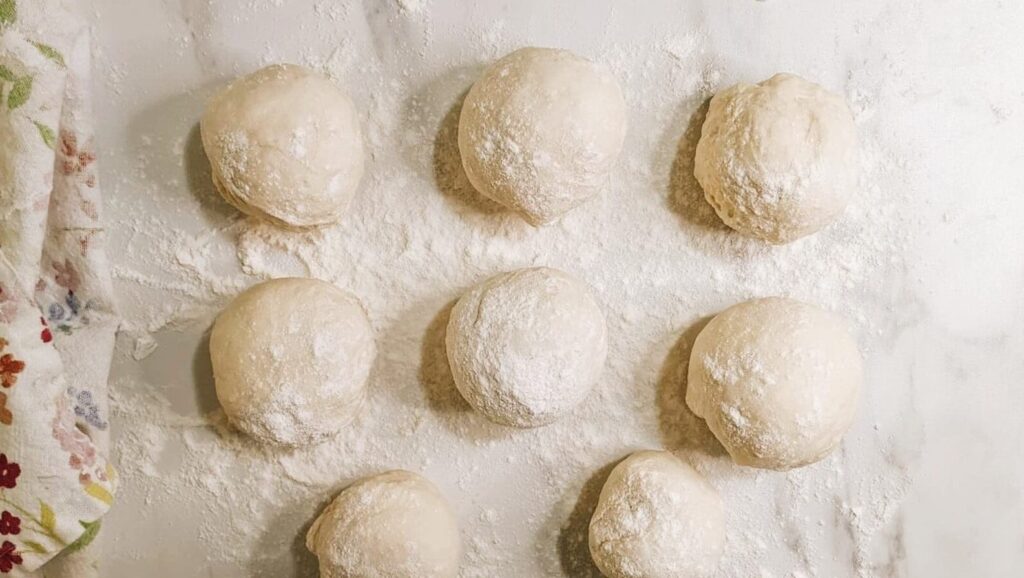
After the first rise of the dough, we will need to shape eight equal pieces. These will become our pitas. To divide them equally, you can either use a scale to weigh and split, or you can start with the large ball of dough, divide it in half, then divide those smaller bits in half, and so on until you get 8 pieces that are all relatively the same size.
Once divided, and shaped into little rounds, we will need to let them rest for another 30 minutes. This second resting period is to allow the gluten to settle after the agitation of dividing the dough. Gluten has the tendency to contract and seize up, making it difficult to stretch out. Allowing the gluten to rest promote pliable dough, and reduce our risk of overworking it.
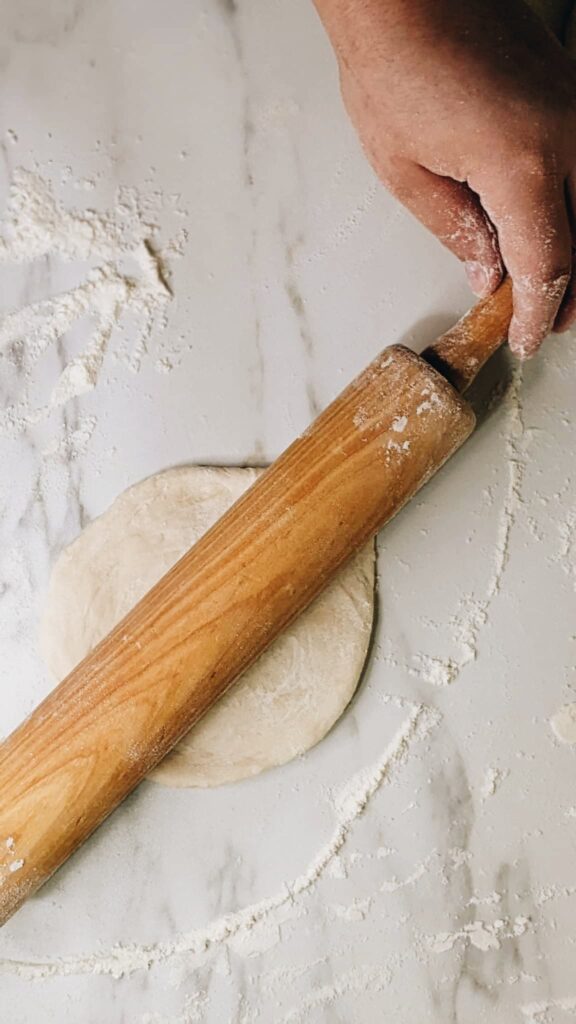
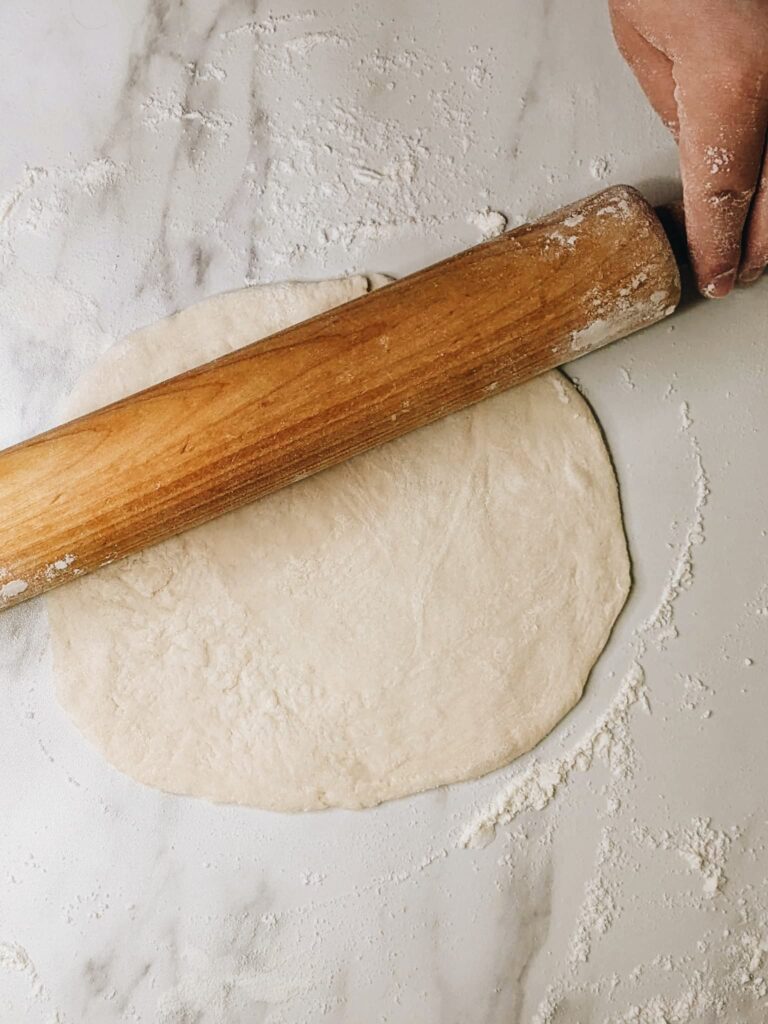
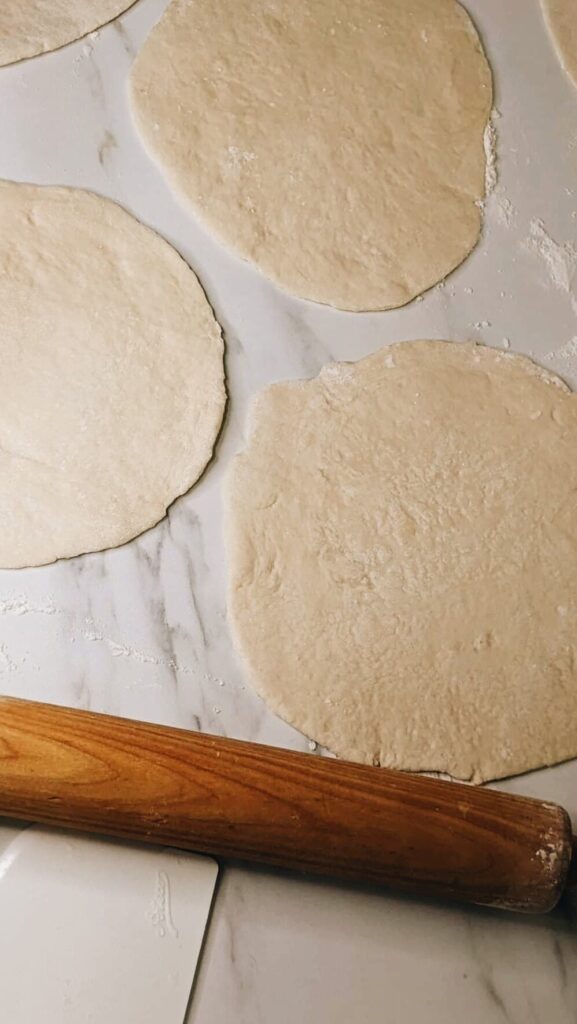
After the dough balls have rested, it is time to flatten and shape them with a rolling pin. I usually like flattening them by starting in the middle and working my way out to the edges. Once the pita is evenly flattened, I pick up the pita and begin to stretch the edges with my hands. Gently pulling outwards. I do this to ensure that the pita will remain round, and have even thickness throughout.
Cooking
After rolling out the pita bread, I begin to heat up my cast iron pan on medium high heat. The time that it takes to get up to temperature benefits the pita by giving it that last little moment to rest. Resting the pita during this final stage will help with the formation of the inner pockets.
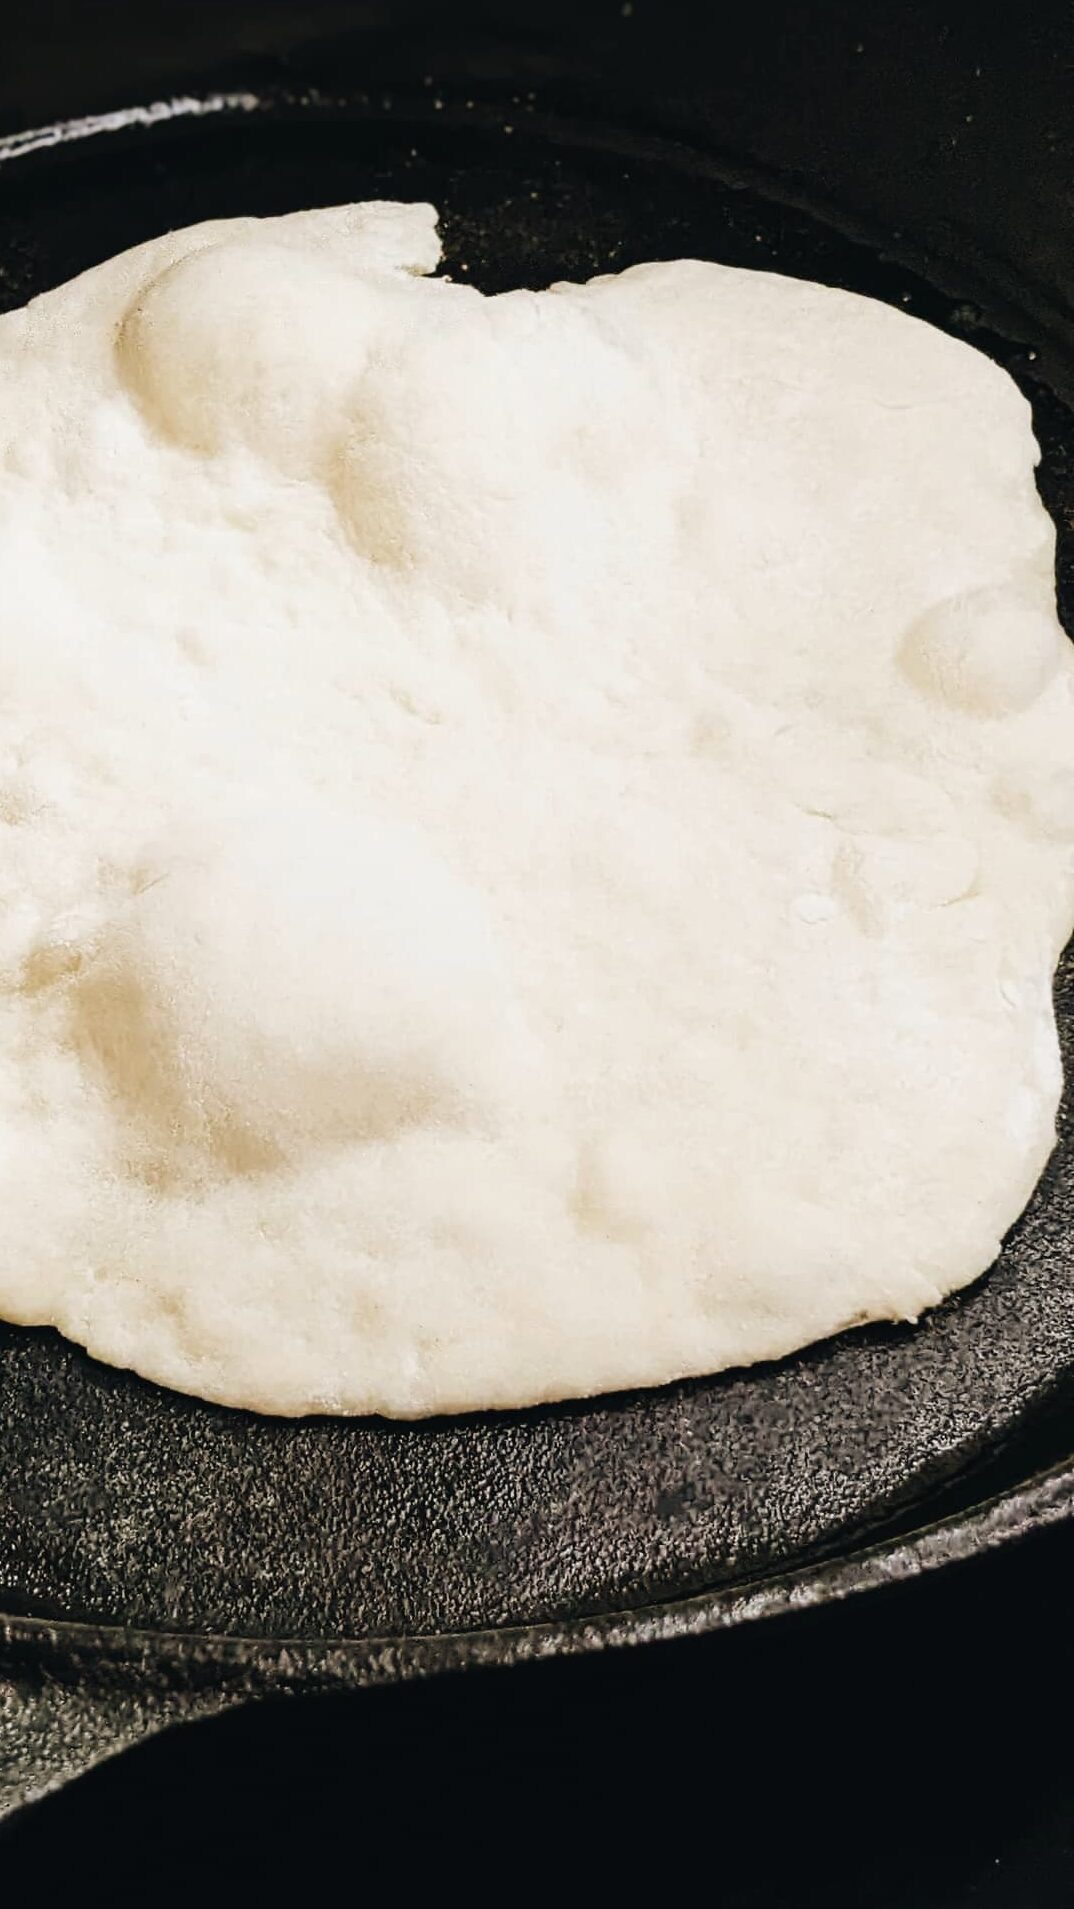
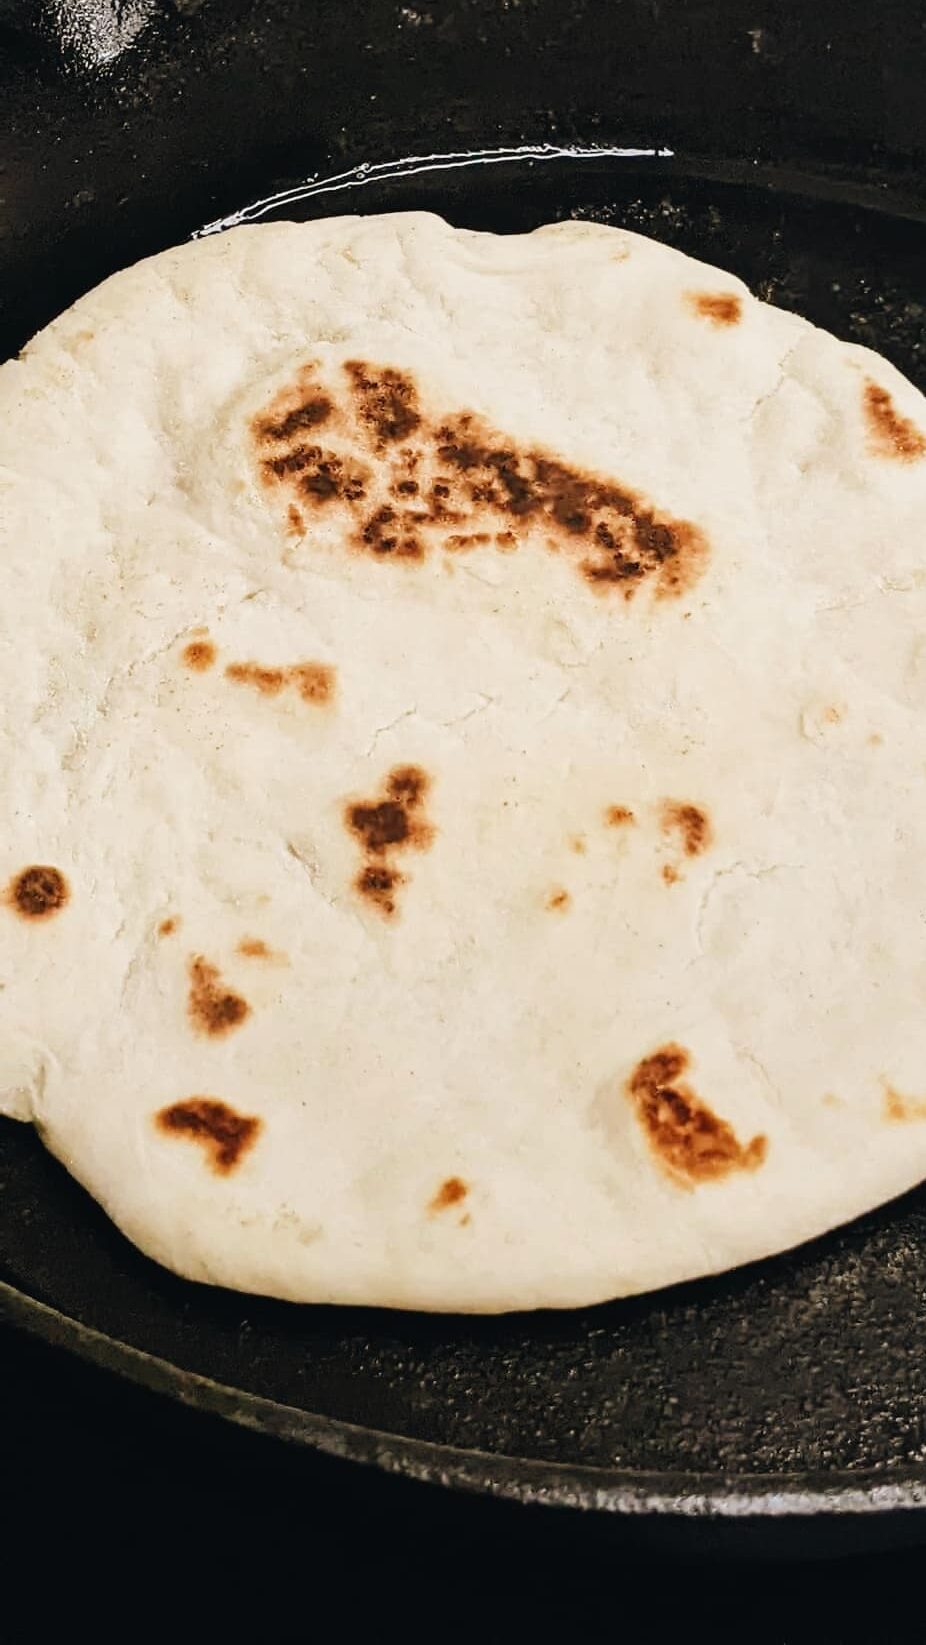
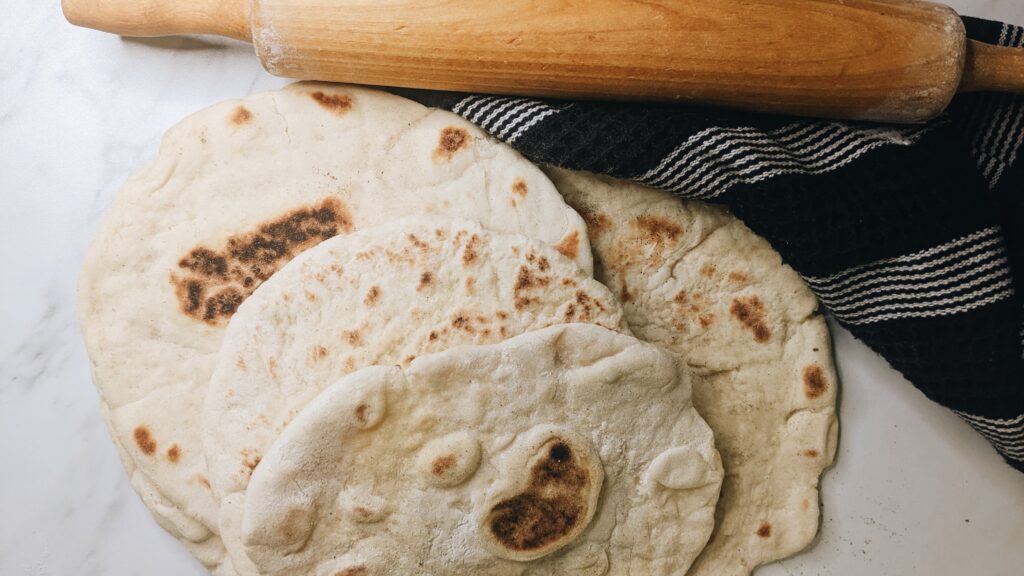
Cook the pita on each side for about 2-4 minutes, or until lightly toasted and puffy. And there you have it, delicious five-ingredient pita bread! This bread will last on the counter in an air-tight container for about 5 days, or it can be placed in the freezer for up to three months.
Serve it up with some homemade tzatziki or fill them with your favorite protein and veggies to make gyros. Enjoy! xo
Homemade Pita Bread
Equipment
- 1 Electric Mixer with dough hook attachment
- 1 Cast Iron Pan
- 1 Rolling Pin
Ingredients
- 1 cup lukewarm water around 105°F (or 40°C)
- 1 tablespoon organic sugar
- 2 ¼ teaspoons active dry yeast
- 3 cups all-purpose flour unbleached
- 1 tablespoon olive oil extra virgin
- 2 teaspoons Kosher salt
Instructions
- 1. Add the warm water, sugar and yeast to the bowl of a stand mixer along with 1 cup of flour. Mix everything and rest for 15 minutes until it bubbles and foams.
- 2. Add in the olive oil, salt and another 1 ½ cups of flour. Mix using the dough hook until the dough is soft and no longer sticky. If the dough is sticky and doesn’t come off the sides of the mixing bowl, add small amounts of flour until it comes together. We added a total of 3 cups from start to finish.
- 3. Knead for 5 to 6 minutes. Once smooth, remove from the mixing bowl, and form into a ball. Place the dough to rise into a lightly oiled bowl, cover and allow to rise until doubled in size (about an hour).
- 4. Place the dough ball onto a floured surface. Cut the dough into 8 equal pieces. You can estimate, or use a scale. Roll the cut pieces of dough into a ball, tucking the ends into the bottom. Allow the dough to rise for an additional 30 minutes before rolling.
- 5. Using a rolling pin, roll the balls into medium sized pitas, about ¼ of an inch thick.
- 6. Heat a cast-iron pan on medium-high heat, once warm, add the pita and cook until the bread begins to puff up and brown (about 2-3 minutes). Flip the pita and cook for an additional 2 minutes on the other side.
- 7. Serve with tzatziki, or with your favorite protein and vegetables as a gyros or wrap!

