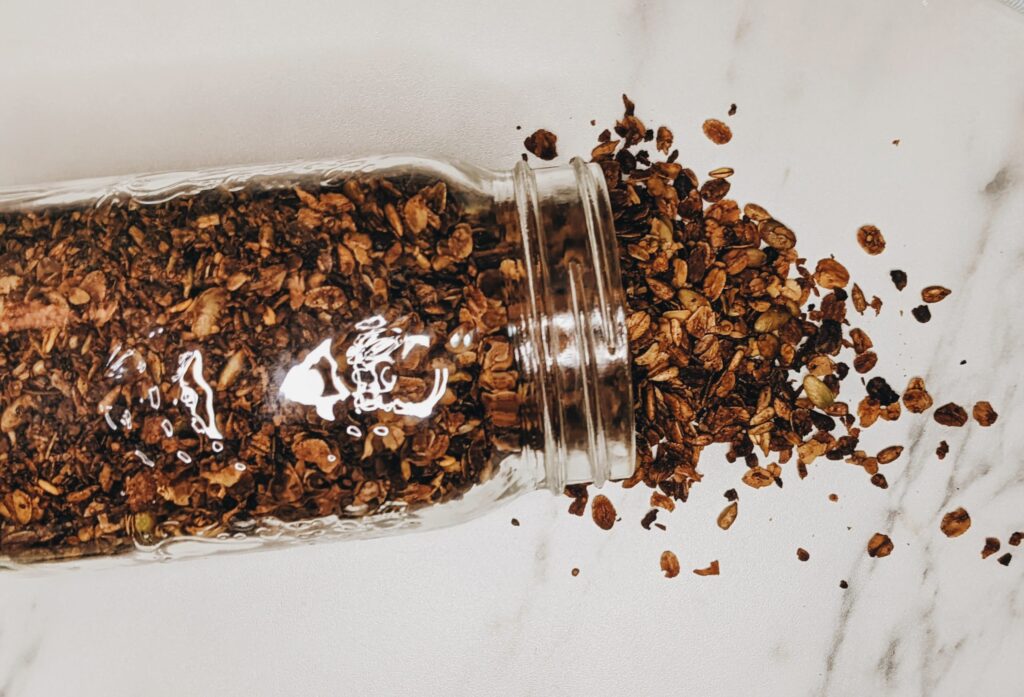
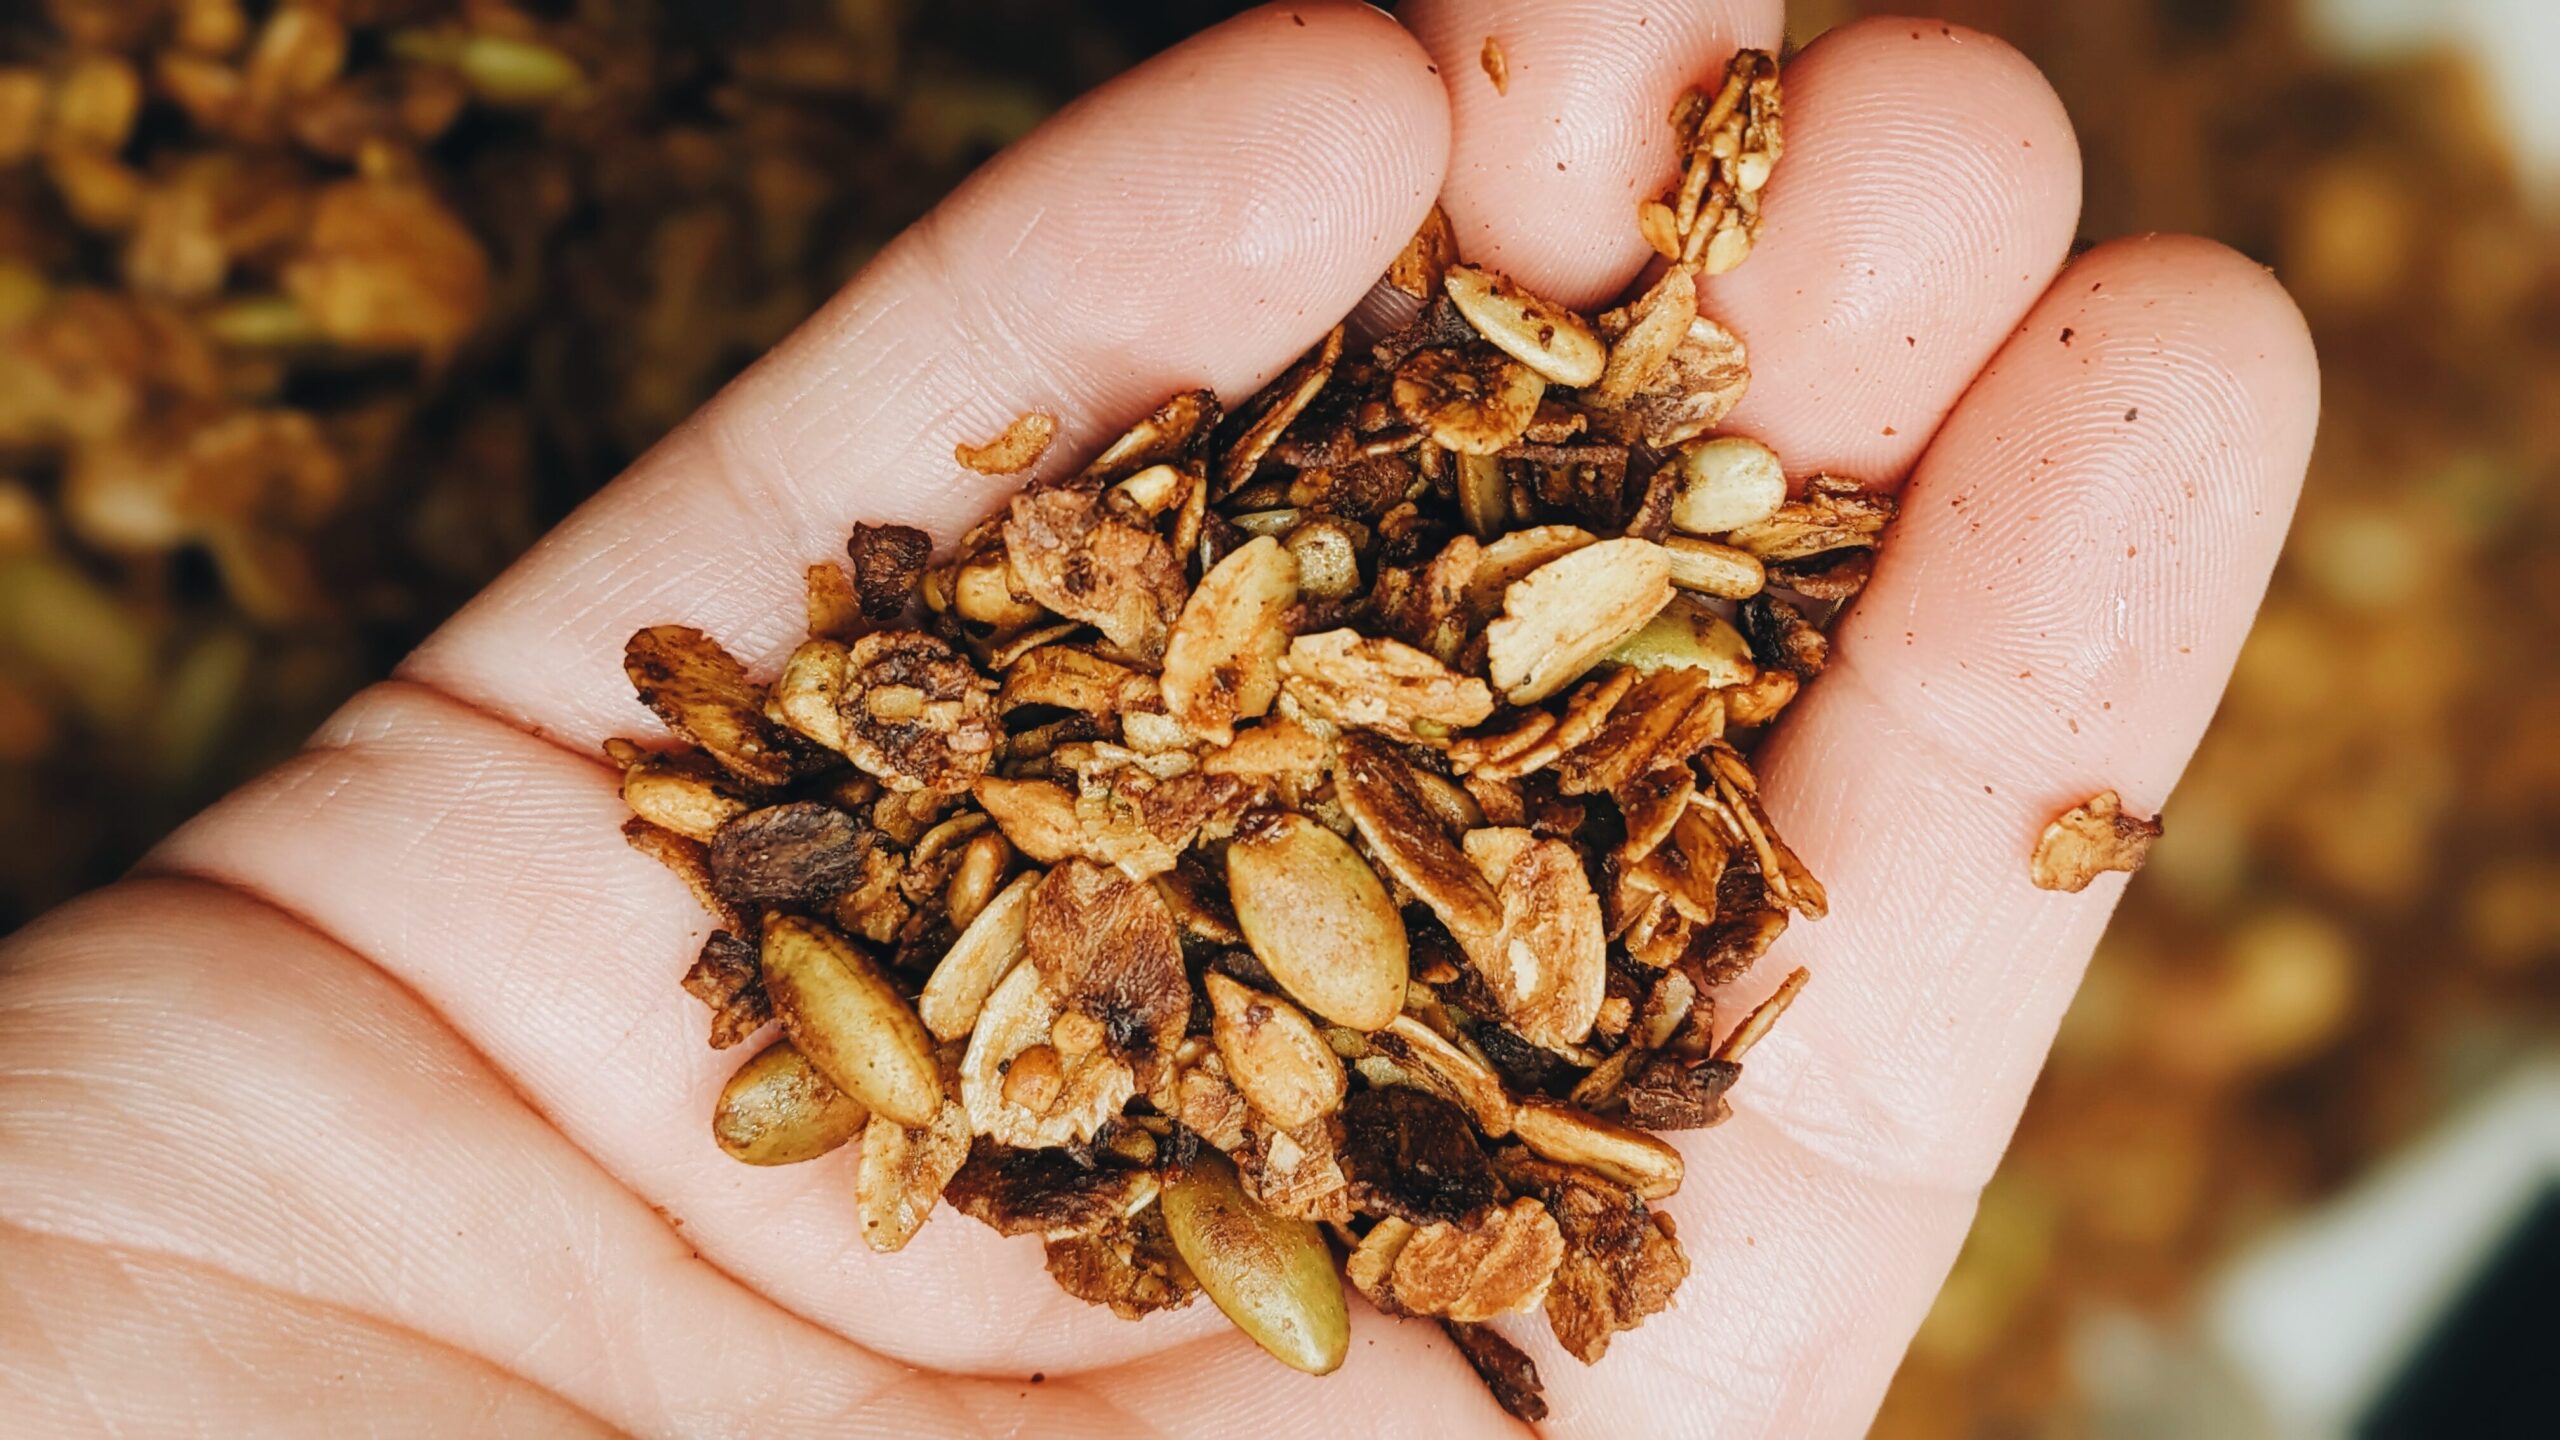
This Maple Vanilla Granola is like grabbing a little handful of heaven. It is perfect as a grab and go snack (aka shovel into your mouth right out of the jar like I have been doing), or to sprinkle over some yogurt and fruit. This granola is bound using Canadian Grade A maple syrup and honey (substitutions can be found down below for vegans) and it is absolutely loaded with healthy fats from all of the nuts and seeds.

Each batch yields about 5 cups, and it will last in an tight jar for about 3 weeks. Once you make your first batch of homemade granola, you’ll never go back to store-bought. This really is a budget friendly alternative to store bough granola which can be quite costly and full of refined sugars.
In addition to being budget friendly, it is also a pantry-friendly recipe. This means that you will likely have some of the base ingredients for this recipe on hand, for example the maple syrup (or honey), cinnamon, salt, vanilla and oats. All of the add-ins like the hemp hearts, pepitas, and sunflower seeds are completely customizable.
I highly recommend using whatever you have on hand to keep costs low as many of the seeds or dried fruit can be swapped for just about anything! Feel free to leave a comment down below if you’re looking for alternatives, swaps, or recommendations!
Local Fruit
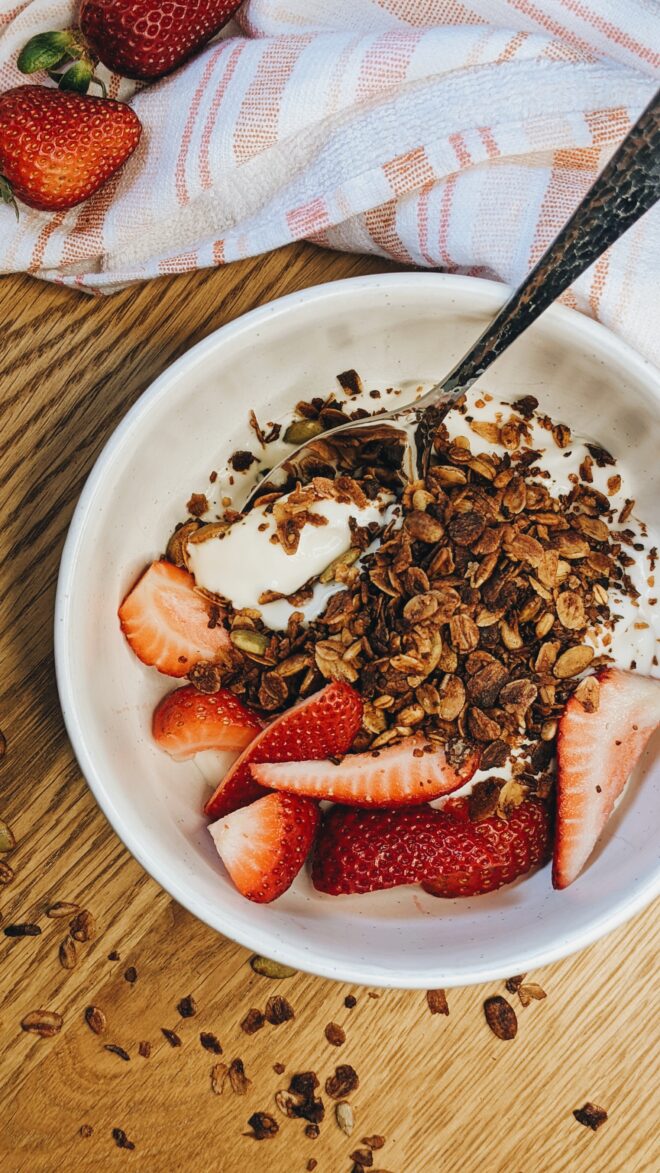
My perfect warm weather breakfast typically goes like this: a combination of dairy-free yogurt, seasonal fruit, a drizzle of honey or maple syrup, and a nice handful of this granola. There is something just so refreshing about a light bowl of yogurt and fruit to start the day. Don’t get me wrong, Tyler and I love a greasy fry up as much as the next couple, but we really do avoid eating meat alternative products, or too many eggs. Sometimes a light breakfast just does the trick.
On the topic of local seasonal fruit, I hope that I can share with you some of the many amazing farmer we have here in Niagara this upcoming growing season. I hope to work more closely with some of their products, and I would love to take you along to the market with me where we can learn together. I will be shifting the focus of my upcoming recipes to use more locally grown products, and hopefully share some of my own gardening successes.
Here in Niagara, we have a market that runs all year long, but like most other growing regions, it absolutely thrives in the summertime. I must admit that I do feel guilty about not having been able to go for a the past couple of weeks to support our local growers, but things have been quite busy on my end.
Making the Maple vanilla Granola
As previously stated, and like many of my recipes, this granola is totally customizable and pantry friendly. I aim to make cooking more approachable to everyone, because healthy food should not be something only accessible to wealthy people. Eating healthily should not be dictated by how much money you have. With that being said, if you don’t have the ingredients I used for this recipe, feel free to swap any of the seeds or nuts with anything else that you may have on hand.
As for the binder, I know that some Canadian maple syrup can be quite expensive, so if you have some honey, or agave those will both work in its place.

Cooking Tips
This recipe is as simple as grabbing a large bowl, measuring your ingredients, and mixing them together. The trickiest part is keeping an eye on the granola while it bakes to avoid overcooking it. The sugar is the maple syrup (or honey) binder requires us to stir every 10-15 minutes, keeping a close eye on the edges of the pan to avoid excessive browning.
You will know the that the granola is done when it is slightly firm (or “crunchier”) to the touch, this should take about 45 minutes. Once it is done, remove it from the oven and allow to cool completely before storing in an air tight jar.
Another quick tip for you: the granola will slightly firm up as it cools so be mindful of that. If it seems slightly underdone but the oats and seeds are looking toasty and browned, I suggest removing them from the oven.
If you are using any dried fruit, I highly recommend adding the fruit in after baking the granola to avoid caramelizing or burning the sugars in the dried fruit.
I don’t have much more to say about this recipe other than this: just go ahead and make it! It is so delicious with your favorite yogurt, and fruit, and a dusting of cinnamon. The nuttiness of the granola, combined with the sweetness from the vanilla and maple syrup, with the kosher salt makes it absolutely *chefs kiss*. I hope you give it a try and let me know what you think of it! Enjoy xox
Maple Vanilla Granola with Nuts and Seeds
Ingredients
- 3 cups rolled oats
- ½ cup sunflower seeds raw
- ½ cup pepitas raw
- ¼ cup hulled hemp hearts
- ⅓ cup olive oil
- ¼ cup pure maple syrup Canadian Grade A (double if not using honey)
- ¼ cup honey
- ½ teaspoon pure vanilla extract
- ½ teaspoon ground cinnamon
- ½ teaspoon kosher salt
Instructions
- Heat your oven to 300℉ (150℃). Line a baking sheet with a piece of parchment paper.
- In a large mixing bowl, combine the rolled oats, sunflower seeds, pepitas, hemp hearts, cinnamon, and salt.
- In a small bowl, combine the olive oil, maple syrup, honey and vanilla extract. If you are not using honey for dietary reasons, simply double the amount of maple syrup.
- Add the wet ingredients in the small bowl, into the larger mixing bowl. Mix until all of the oat mixture looks well coated.
- Pour the oat mixture onto the prepared baking sheet, and flatten evenly. Place the baking sheet into the oven, and stir the mixture every 10 minutes, keeping a close eye on it. The entire baking process should take about 40 minutes.
- The granola will be ready to come out of the oven when the oats are lightly browned, and the mixture feels crispy rather than damp. Everything should look pretty toasted, but not burnt.
- Let the granola cool on the baking sheet, and then store it in an airtight container for up to 2 weeks.


